
- Home
- Solution Center
- Learn
- Lawn and Landscape
- How to Use Weed Killers Without Harming Plants
How to Use Weed Killers Without Harming Plants
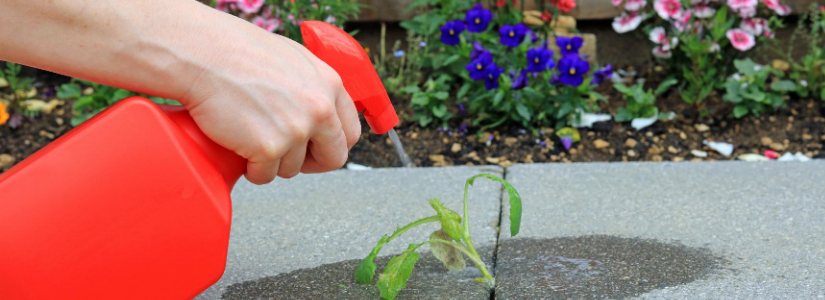
Killing weeds is easy with contact sprays. Wherever the weed killer lands, your weeding job is nearly done. But weed killer does not always distinguish between valuable landscape plants, favorite flowers and the weeds you want to remove. To ensure you do not accidentally harm desirable plants with weed killer, try some of these no-miss tips.
Weed Killer Mishaps
Many spray-on weed killers are a type of post-emergent herbicide and contain the active ingredient glyphosate, which does not discriminate between weeds and desirable plants. This type of herbicide simply kills plants it contacts.
When this type of weed killer inadvertently drifts onto desirable plants, that is called overspray or spray drift – and it can mean the difference between killing weeds and killing a cherished plant. Sometimes, spray drift does not kill nearby plants, but instead produces leaf spotting, stunted growth, stems that die back or leaf drop.
To prevent problems with weed killer spray drift or overspray, follow some of these techniques to learn how to use weed killer responsibly.
Protect Other Plants
- Read the weed killer label. One popular weed killer label warns to avoid creating fine spray particles by using a high pressure-type nozzle sprayer, because small particles are more likely to drift.
- Spray for weeds when air is calm. If you must spray and the wind will not let up, look for a gel-type herbicide, or, if possible, paint or daub the herbicide directly on the weed.
- Use caution when spraying weed killer in beds with bulbs that have died back. Many bulbs, even when dormant, react to weed killer that seeps into the neck of the bulb.
- Rinse sprayers or watering cans used to apply herbicides after each use. Dump the rinse water on a non-planted area. Do not dump rinse water on hard surfaces that will channel them into nearby planting areas or street catchment basins.
- Dedicate a sprayer or watering can for herbicide use to avoid accidentally dosing desirable plants with weed killer.
- Protect nearby plants from spray drift by covering them with plastic sheeting or cardboard. Remove the plastic after the herbicide dries.
- Avoid walking on large areas you have just treated, or you risk carrying herbicide on your shoes into other areas, like your lawn.
- Spray on cloudy days when possible. Warm, sunny conditions intensify spray drift damage symptoms.
Target the Weed
- Create a targeted spraying area by removing the top and bottom of a plastic 2-liter bottle, plastic milk jug or metal food can. Place the spray collar over the weed and apply herbicide directly into the top opening. To spray a large weed patch, use an open-ended cardboard box to form a targeted spray zone.
- Spray one weed growing in the middle of desirable plants by cutting a small opening in a piece of plastic. Lay the plastic over the plants and pull the weed through the opening. Spray the weed with herbicide. Remove the plastic after the herbicide has dried.
- Isolate weeds on planting bed edges by anchoring the weed to the ground with a u-shaped anchor pin. Spray the weed after you have clumped and pinned the foliage.
- Treat only the targeted weed by painting herbicide onto leaves with a sponge applicator brush. If using a bristle paint brush, take care not to flick herbicide onto nearby plants.


